This option will only show if the testing center has an active order for cloud access. If you believe you should have cloud access please reach out to your sales representative.
TABLE OF CONTENTS
Classrooms
- Select Classrooms from the sidebar menu.

- Select View next to the Classroom you would like to edit.

- Select the Content Tab
- Click Default Settings

- Enable the checkbox for Cloud Access.
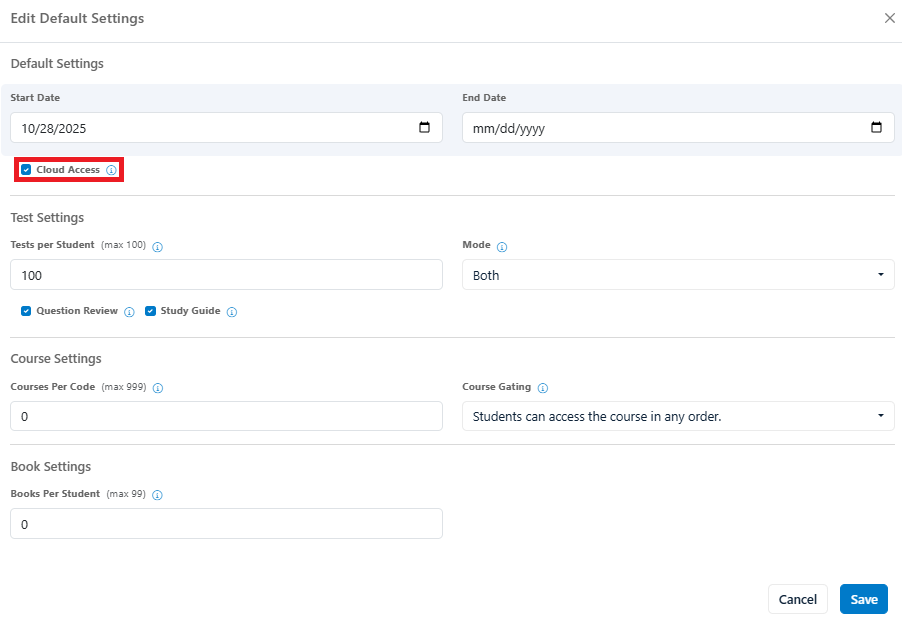
- Select Save
New Access Codes
- Select Access Codes from the sidebar.

- Select View next to the Access Code you would like to edit.

- Select the Content Tab
- Click Default Settings

- Enable the checkbox for Cloud Access.

- Select Save
Legacy Access Codes
To add cloud access to an access code, do the following:
- Navigate to the Code Settings page, either by creating a new code or editing an existing code.
- Find the Grant Cloud Access button and click it to enable it. If it’s green, it’s enabled. If it’s blue, then it hasn’t been enabled yet.


- Once you’ve done that, you can finish editing or creating the access code as normal. Be sure to click the Confirm button and then the Create/Save button to finalize the creation or edit of the code.
Cloud access is not available for MOS Outlook, or Autodesk products.